
Kristina’s Home Canned Tuna
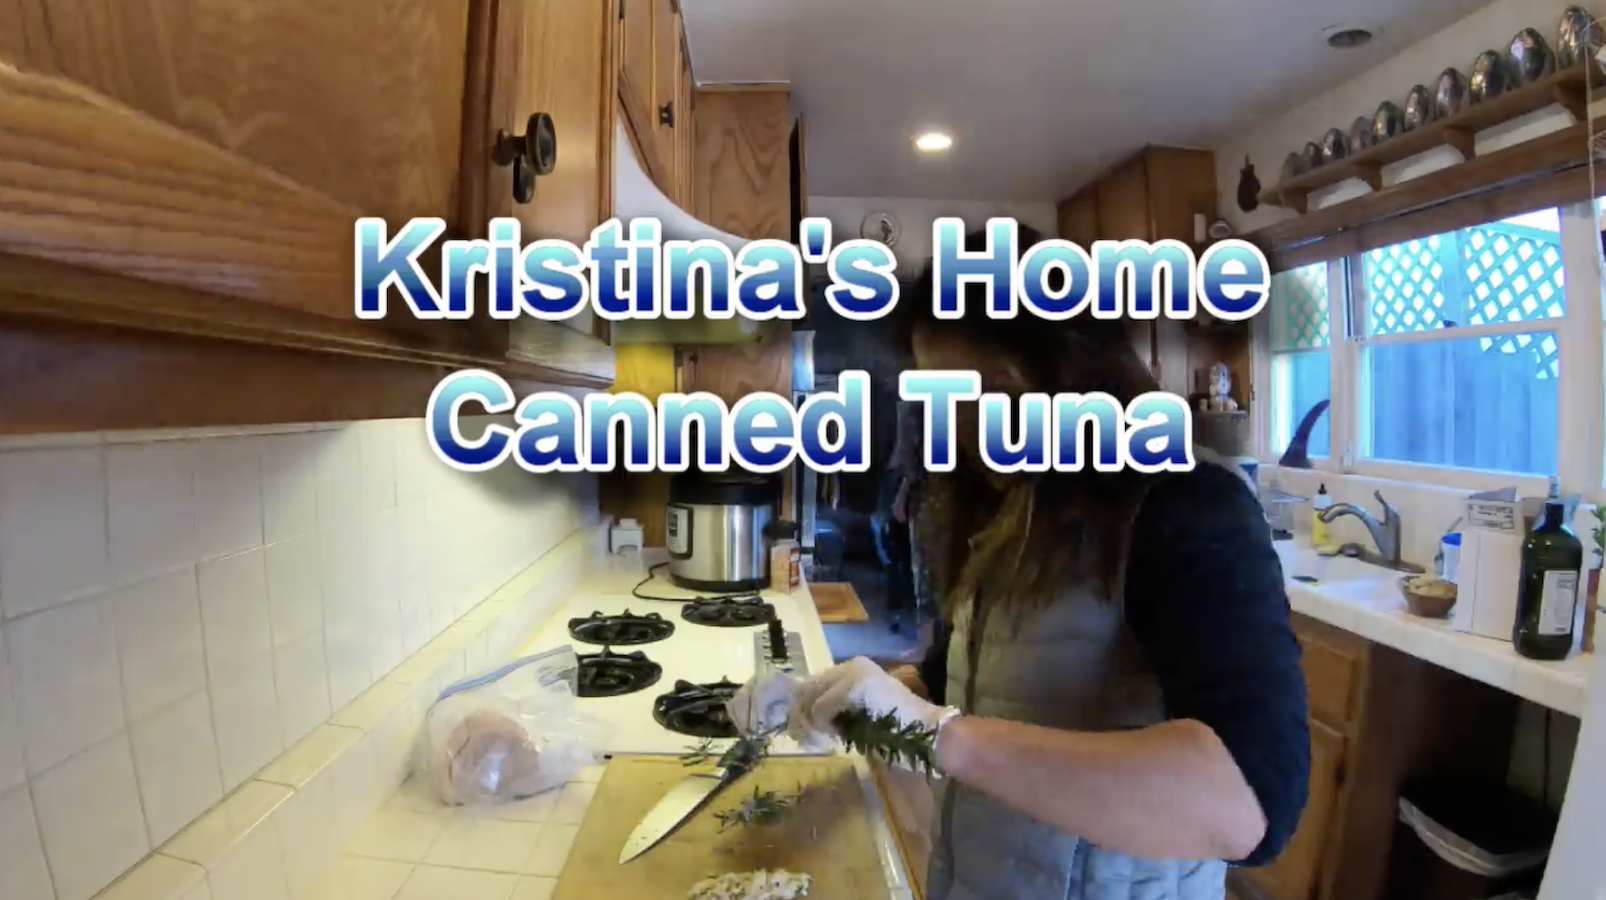
Watch a timelapse video of Kristina making her home-canned tuna using an Instant Pot Max.
Video Edit by John Dascomb. Still images by Oriana Poindexter.
If you end up with more fresh fish than you can handle, try out this home canning method to preserve the meat to enjoy later! You can use meat from any part of the tuna for this - or try with other species, like swordfish or salmon. This home canned tuna is excellent for making tuna salads, tuna melts, topping green salads, in pasta dishes, or just straight out of the jar.
To follow this recipe, you’ll need an Instant Pot (we use a 6 quart Instant Pot Max) and a set of glass canning jars with self sealing lids (we use six 8 oz jars, Bell brand or similar).
For more resources on canning seafood at home, visit Oregon State University Seafood Extension Program.
Ingredients
2 lbs tuna meat, skin off
1/4 cup avocado oil
4 cloves garlic, minced
2 tbsp fresh rosemary, diced
Salt to taste
Instant Pot
Self Sealing Canning Jars
Disposable gloves
Try other flavor combinations! We like to swap the garlic and rosemary for diced jalapeño.

Don’t fill the jar to the top with fish, leave 1 inch of room for proper cooking and sealing.
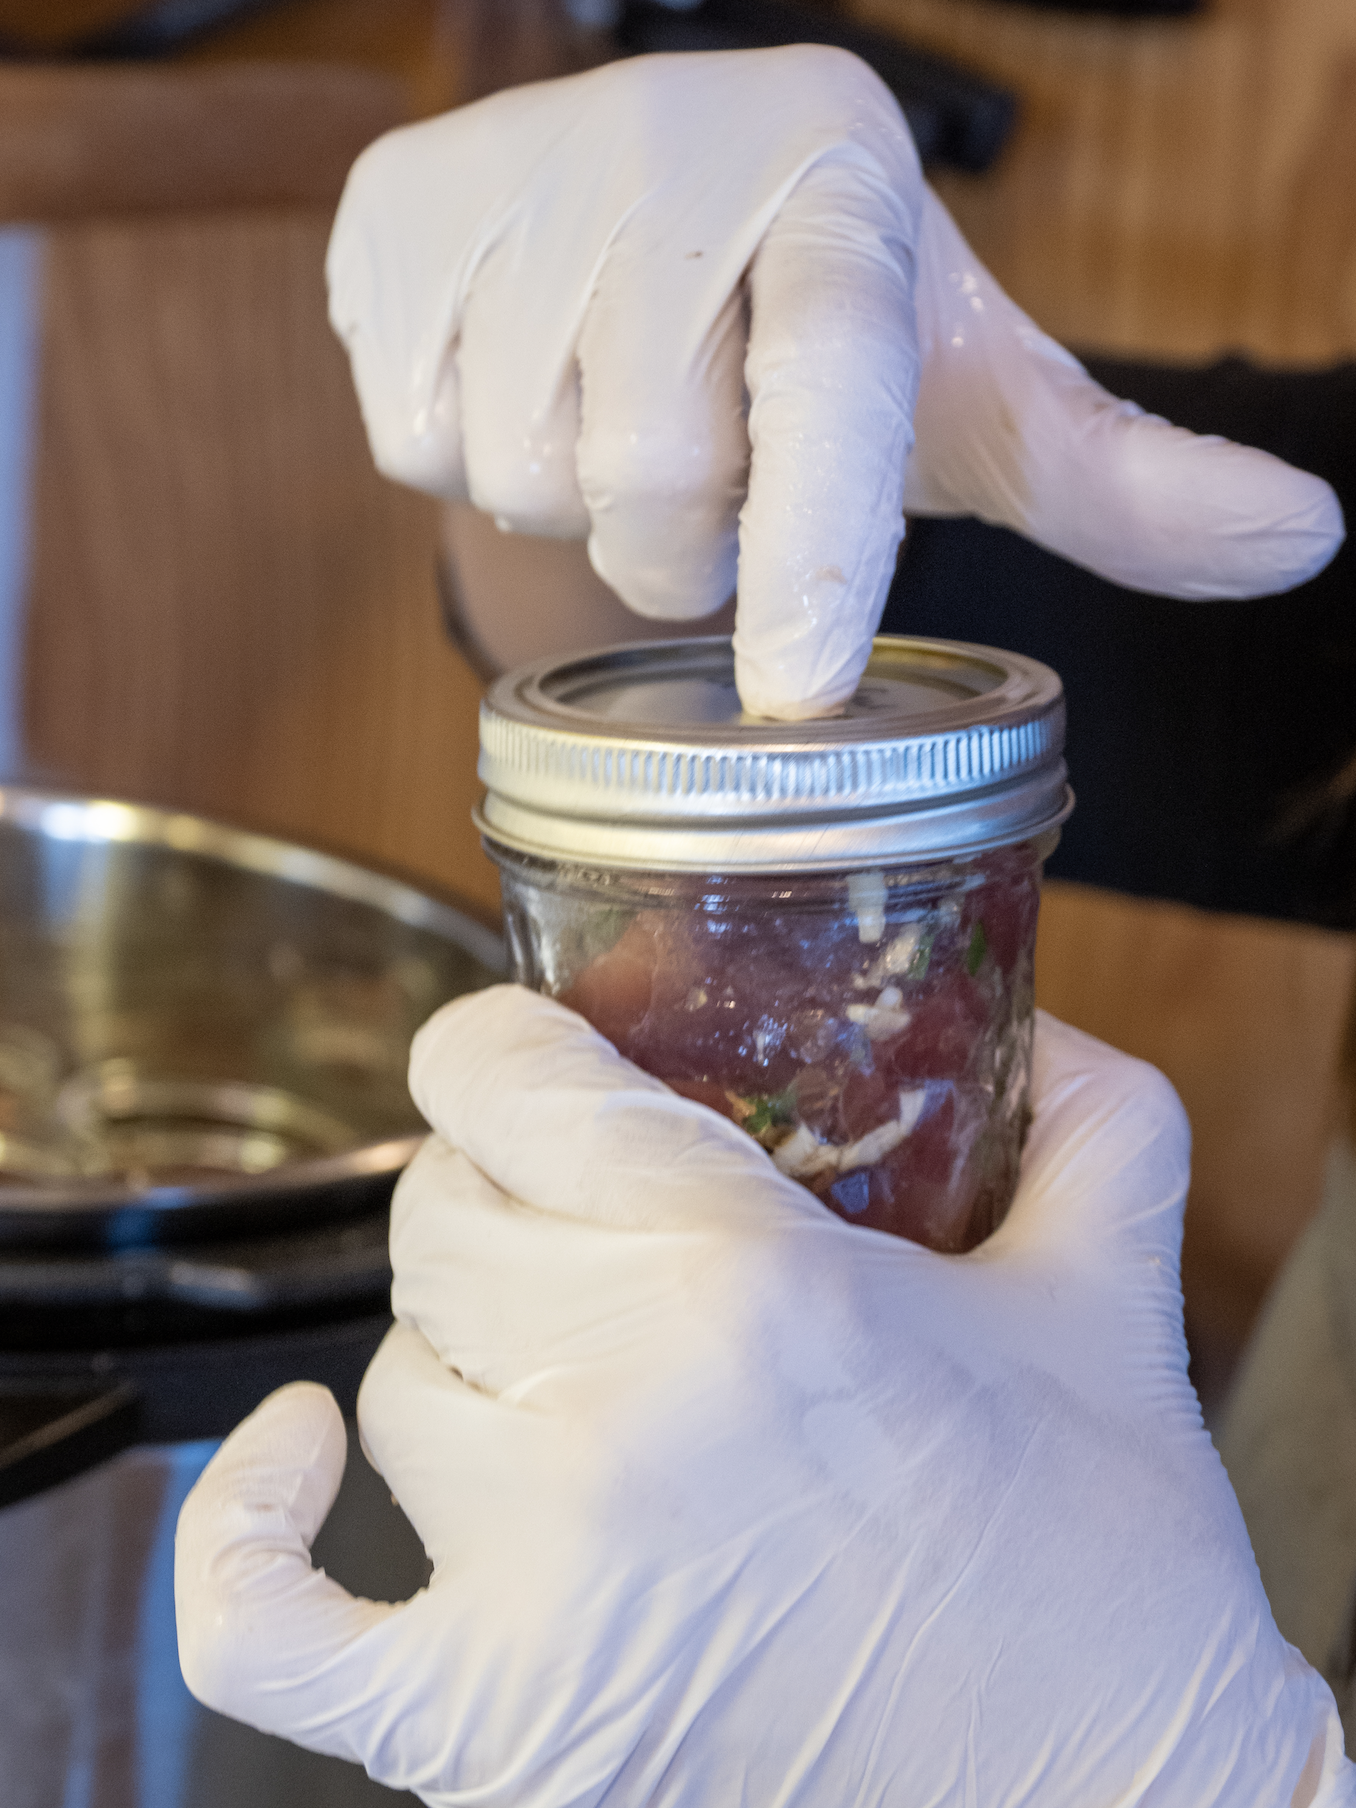
Before cooking - lid should pop up & down when pressed.

After cooking.

Canning Jars and Instant Pot.
How to Prepare
Sterilize your glass canning jars by either: a) using new jars & lids; b) putting previously used jars & lids through a dishwasher cycle; or c) washing very thoroughly by hand. If you do b or c, we like to rub vodka or alcohol on the rim of the jar and the self-sealing lid. Use gloves throughout the rest of this process to avoid introducing bacteria from your hands into the canning process.
Prepare Instant Pot by pouring fresh water into the pot. Use enough water to reach 3 inches up the sides of the jars. Do not fully submerge the jars in water.
OSU Extension Program recommends adding 2 tablespoons of white vinegar to the water in the pot to reduce any odor during processing. We don’t notice an odor when canning with the Instant Pot.
Cut your fish into evenly sized chunks, about 1 square inch each. You can use pieces from any part of the tuna for canning, as long as they are evenly sized and fit well in your jars. Use trim or scraps to waste as little as possible.
Prepare seasonings by chopping finely and evenly. We use fresh garlic and rosemary, but feel free to get creative! Another favorite is to swap the rosemary for diced jalapeño.
Loosely mix fish and seasonings together in a large bowl. Fill each jar but not to the brim - leave one inch empty at the top. Be careful to keep jars and jar edges clean.
OSU Extension Program recommends wiping the jar rims clean with a paper towel moistened with vinegar to remove any oil from the tuna before putting on the lid.
Close each jar with a lid, not too tightly. Make sure the self-sealing lid pops up and down when pressed. Carefully arrange the jars in the Instant Pot to fit snugly but not tightly.
Set the Instant Pot to the Meat or High Pressure setting. You want the Instant Pot to be at least 12 psi and preferably over 15 psi. Cook for 110 minutes.
After 110 minutes, let it naturally release (i.e. don’t touch it) for at least 30 minutes.
After 30 minutes rest, open the Instant Pot. Remove the jars with hot pads or oven gloves.
Check each jar has sealed properly by pressing on the lid - it should not pop up and down after cooking. Another way to check if the seal is secure is to remove the ring around the lid of the jar - if the round part of the lid remains sealed with the ring removed, it is safe to store. On average, we’ve found about one can per batch doesn’t seal perfectly. If the lid pops up or the seal breaks when you remove the ring, it’s not safe to store - but it is safe to eat it right away, or keep in the fridge to eat within a few days. It tastes delicious warm!
Store and enjoy! You can store properly sealed jars at room temperature for up to six months.