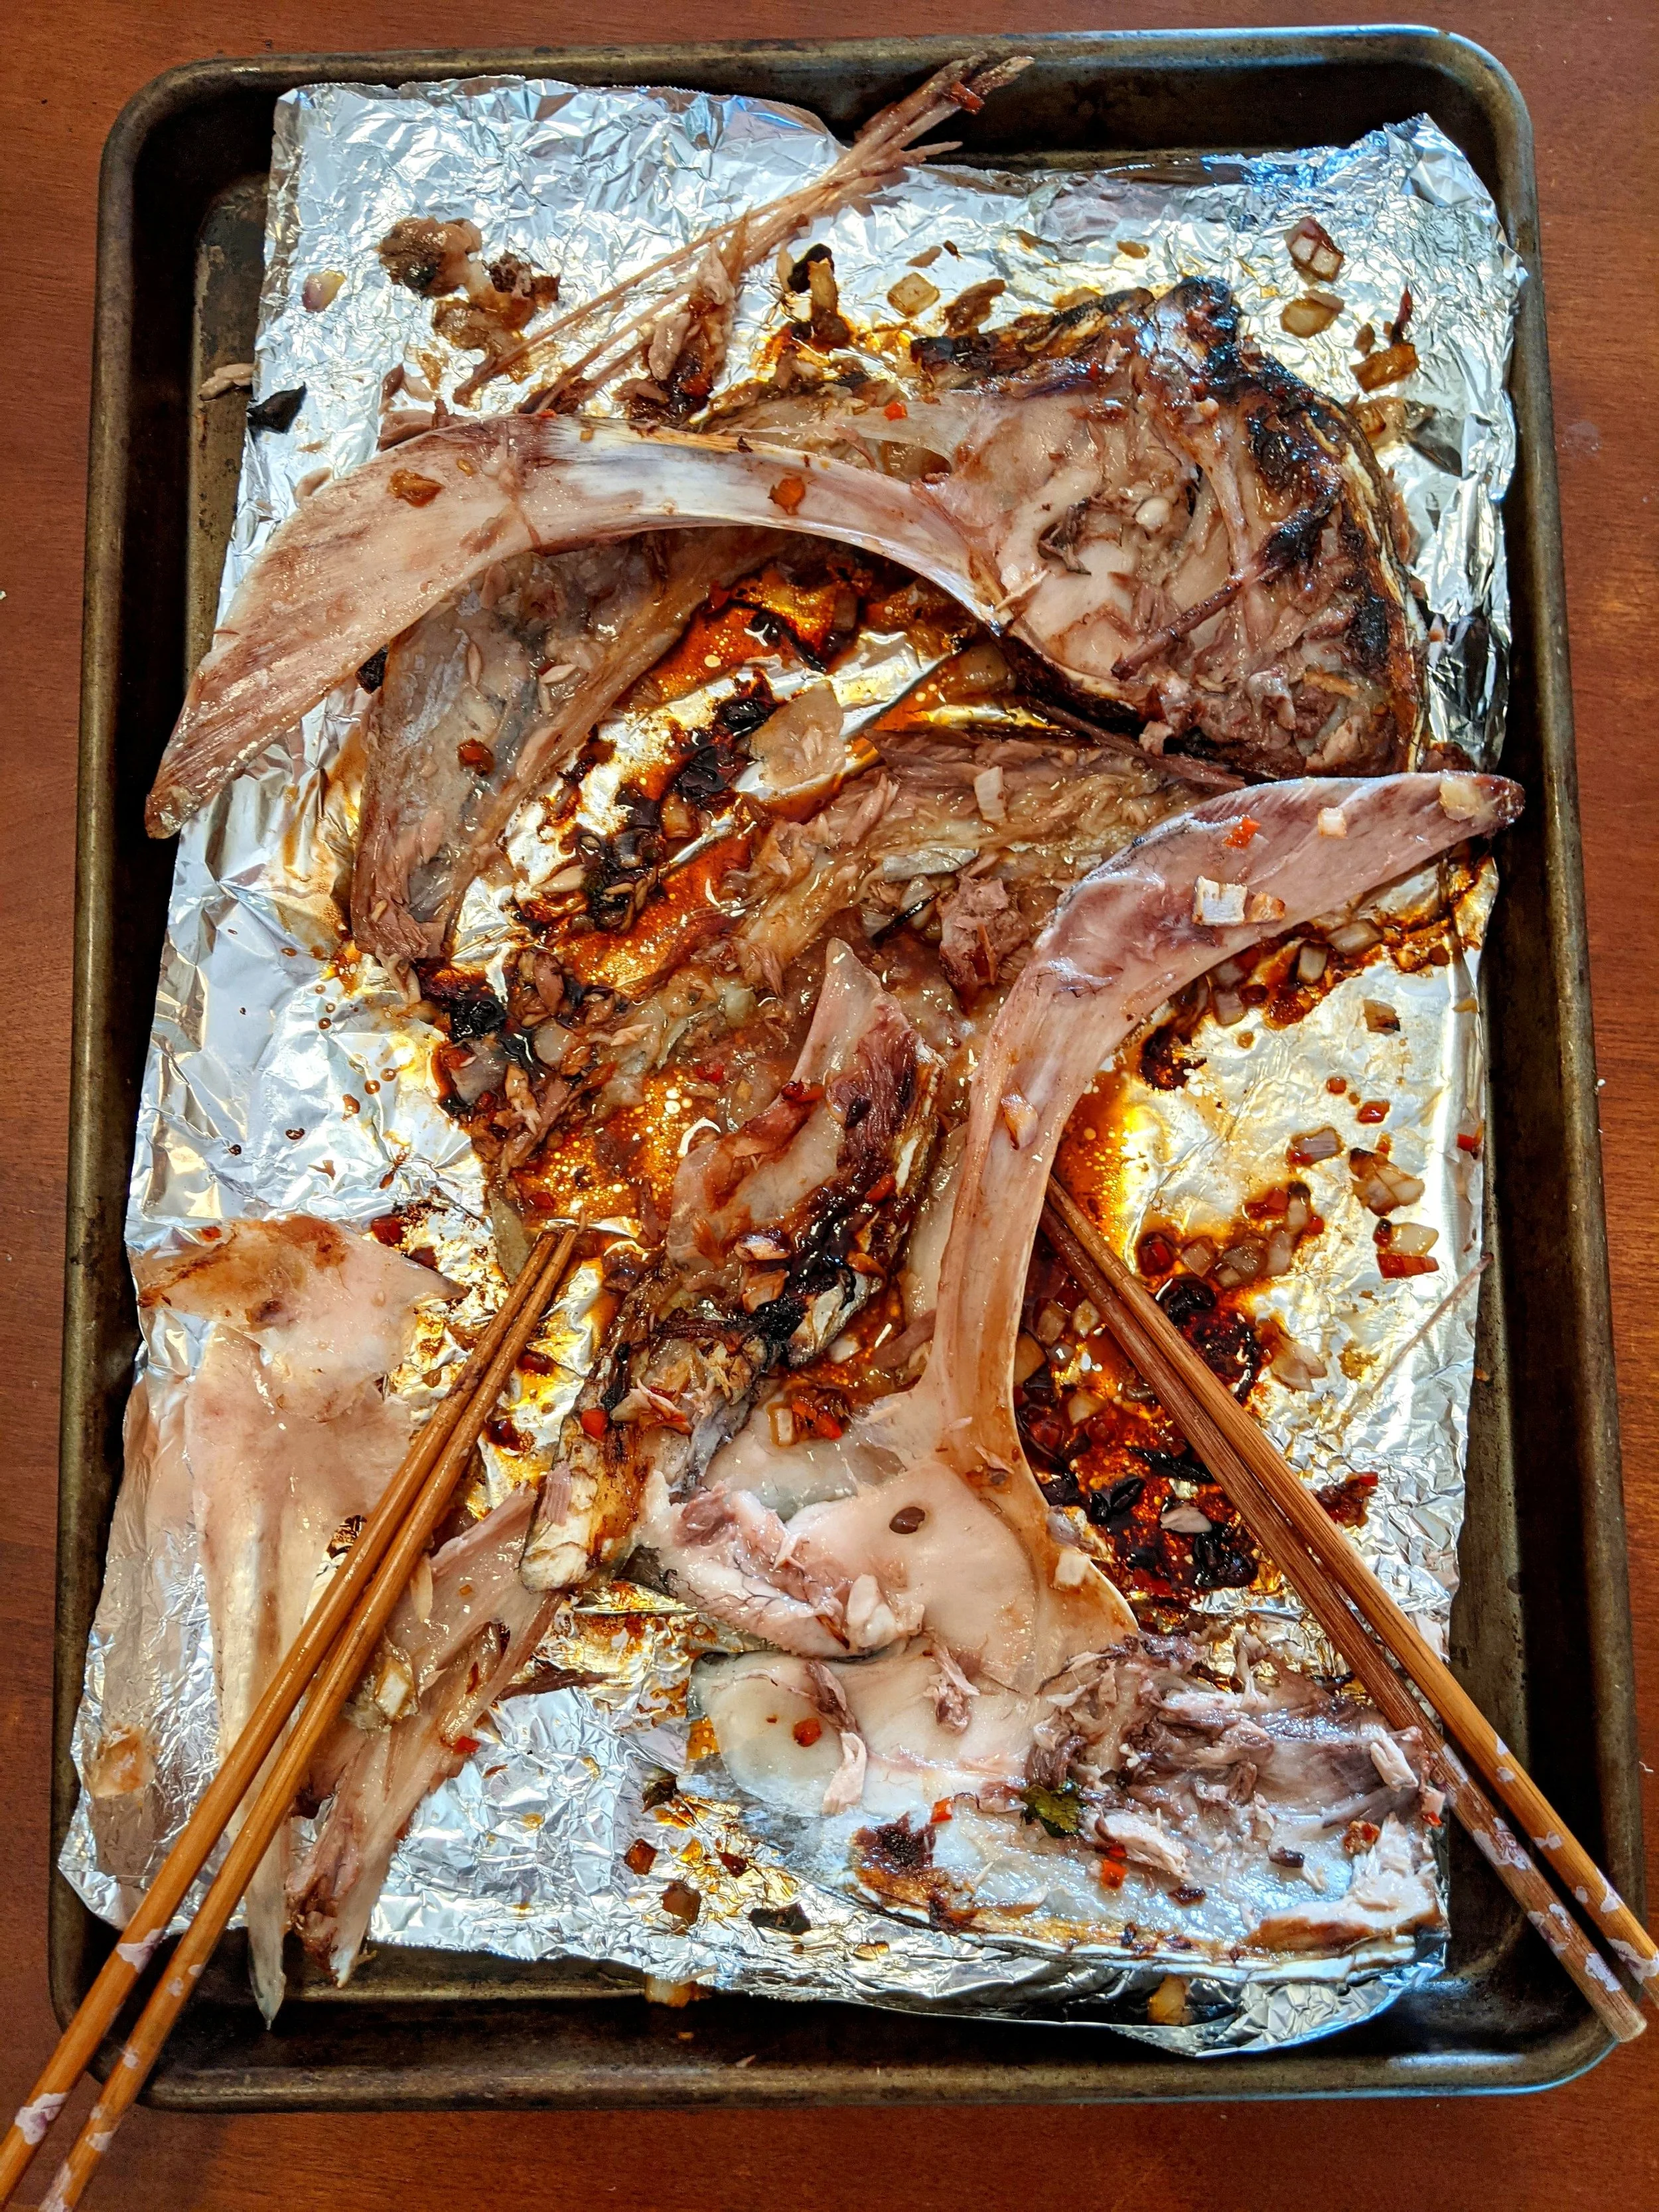
Simple Oven-Baked Collars
Pictured: Pacific Bluefin Tuna collars purchased at the Fishermen’s Market of North County from local fishermen.
Ingredients are entirely adjustable. Consider using aromatics (red onions and garlic pictured) combined with a salt element (teriyaki pictured). Hot peppers add a kick.
“Fish collar” refers to a specific bone-in cut of fish that spans the meat under the gills and around the pectoral fins. Collar meat is tender and flavorful, due to higher fat and collagen content than the loins and fillets of fish, which are mostly muscle.
“Fish collars vary in size, depending on the species you can have very large or fairly small collars. Use your judgement with the seasoning quantities and adjust depending on what you end up purchasing.”
- Ellyse Briand, Olivewood Gardens and Learning Center
To find collars, you have a few options:
Seek out fishermen selling their whole fish at dockside markets. Some have collars pre-cut, some will cut them for you, if you buy the whole fish. A pro tip: Bring cash for these transactions.
Locate a fish processor or seafood wholesaler in your area with a retail counter. Even if collars aren’t on display, ask the fishmonger if they can find one for you! These businesses are often cutting fish in the back, and may be able to accommodate.
San Diego’s Local Fish website has an excellent interactive map that can help you track down collars from SD-landed fish.
Suggested Ingredients
Fish collars (any size)
½ cup soy sauce
½ cup mirin or 1 tablespoon brown sugar
1 cup diced onion
1 tablespoon minced garlic, fresh
1 tablespoon minced hot peppers, fresh (optional)
Scattered, cleaned bones are signs of great enjoyment. Bones can be pressure cooked or boiled to extract a stock, or composted (we recommend bokashi method, which is protein-friendly).
How to Prepare
Trim collar to your liking. If the collar is intact, cut down the center to split into two pieces. Cut off large fins if they extend beyond the borders of your baking trays, but feel free to leave small fins on.
2. Mince aromatic ingredients finely, and combine in a mixing bowl with soy sauce and mirin (or a premade teriyaki sauce).
3. Optional: Pour seasoning mixture over collars in a container or leakproof bag, letting marinate for 4-6 hours.
4. Preheat oven to 350 or 400 degrees F. Higher heat can help larger collars cook faster. Line a baking tray with foil, lightly grease, and place collars on top.
5. For unmarinated collars, pour seasoning over top. Allow collars to reach room temperature, then place in oven.
6. Expect small collars (palm or hand-sized) to be finished in around 15 minutes. Check doneness near the 10-minute mark by deeply inserting a chopstick or fork, or tugging on a fin - meat should easily separate from bone. Larger collars will take 30 minutes to an hour, and can be checked in the same way.
7. Optional: Broil collars for the last 5-10 minutes of cook time for appetizing caramelization.
8. Serve immediately, plating small collars individually, while large ones are better suited for sharing family-style. Hands and chopsticks are the best tools to pry apart the collar and pluck morsels off the bone.


