Preparing Whole Local Seafood at Home
Title: Girl cooking a meal for herself at home
14’ x 18’ acrylic on canvas, January 2021, exhibited in Casa Familiar’s 14th Annual Dia de la Mujer Exhibition
All images and illustrations by Janelle Louie.
If you live in San Diego and have to deal with the realities of the housing market, you might relate to the logistical challenges of preparing whole, local seafood at home.
For years, I’ve rented in an approximately 500 sq ft 1 bedroom apartment (with a standard size refrigerator, stove, microwave, countertop oven, and no yard). In my own experience, finding space to cut or clean fish, and figuring out how to dispose of any ensuing organic trash, are two of the biggest challenges. I am fortunate enough to have a fairly large countertop space in my apartment kitchen, but I have had other situations where a little improvisation was required.
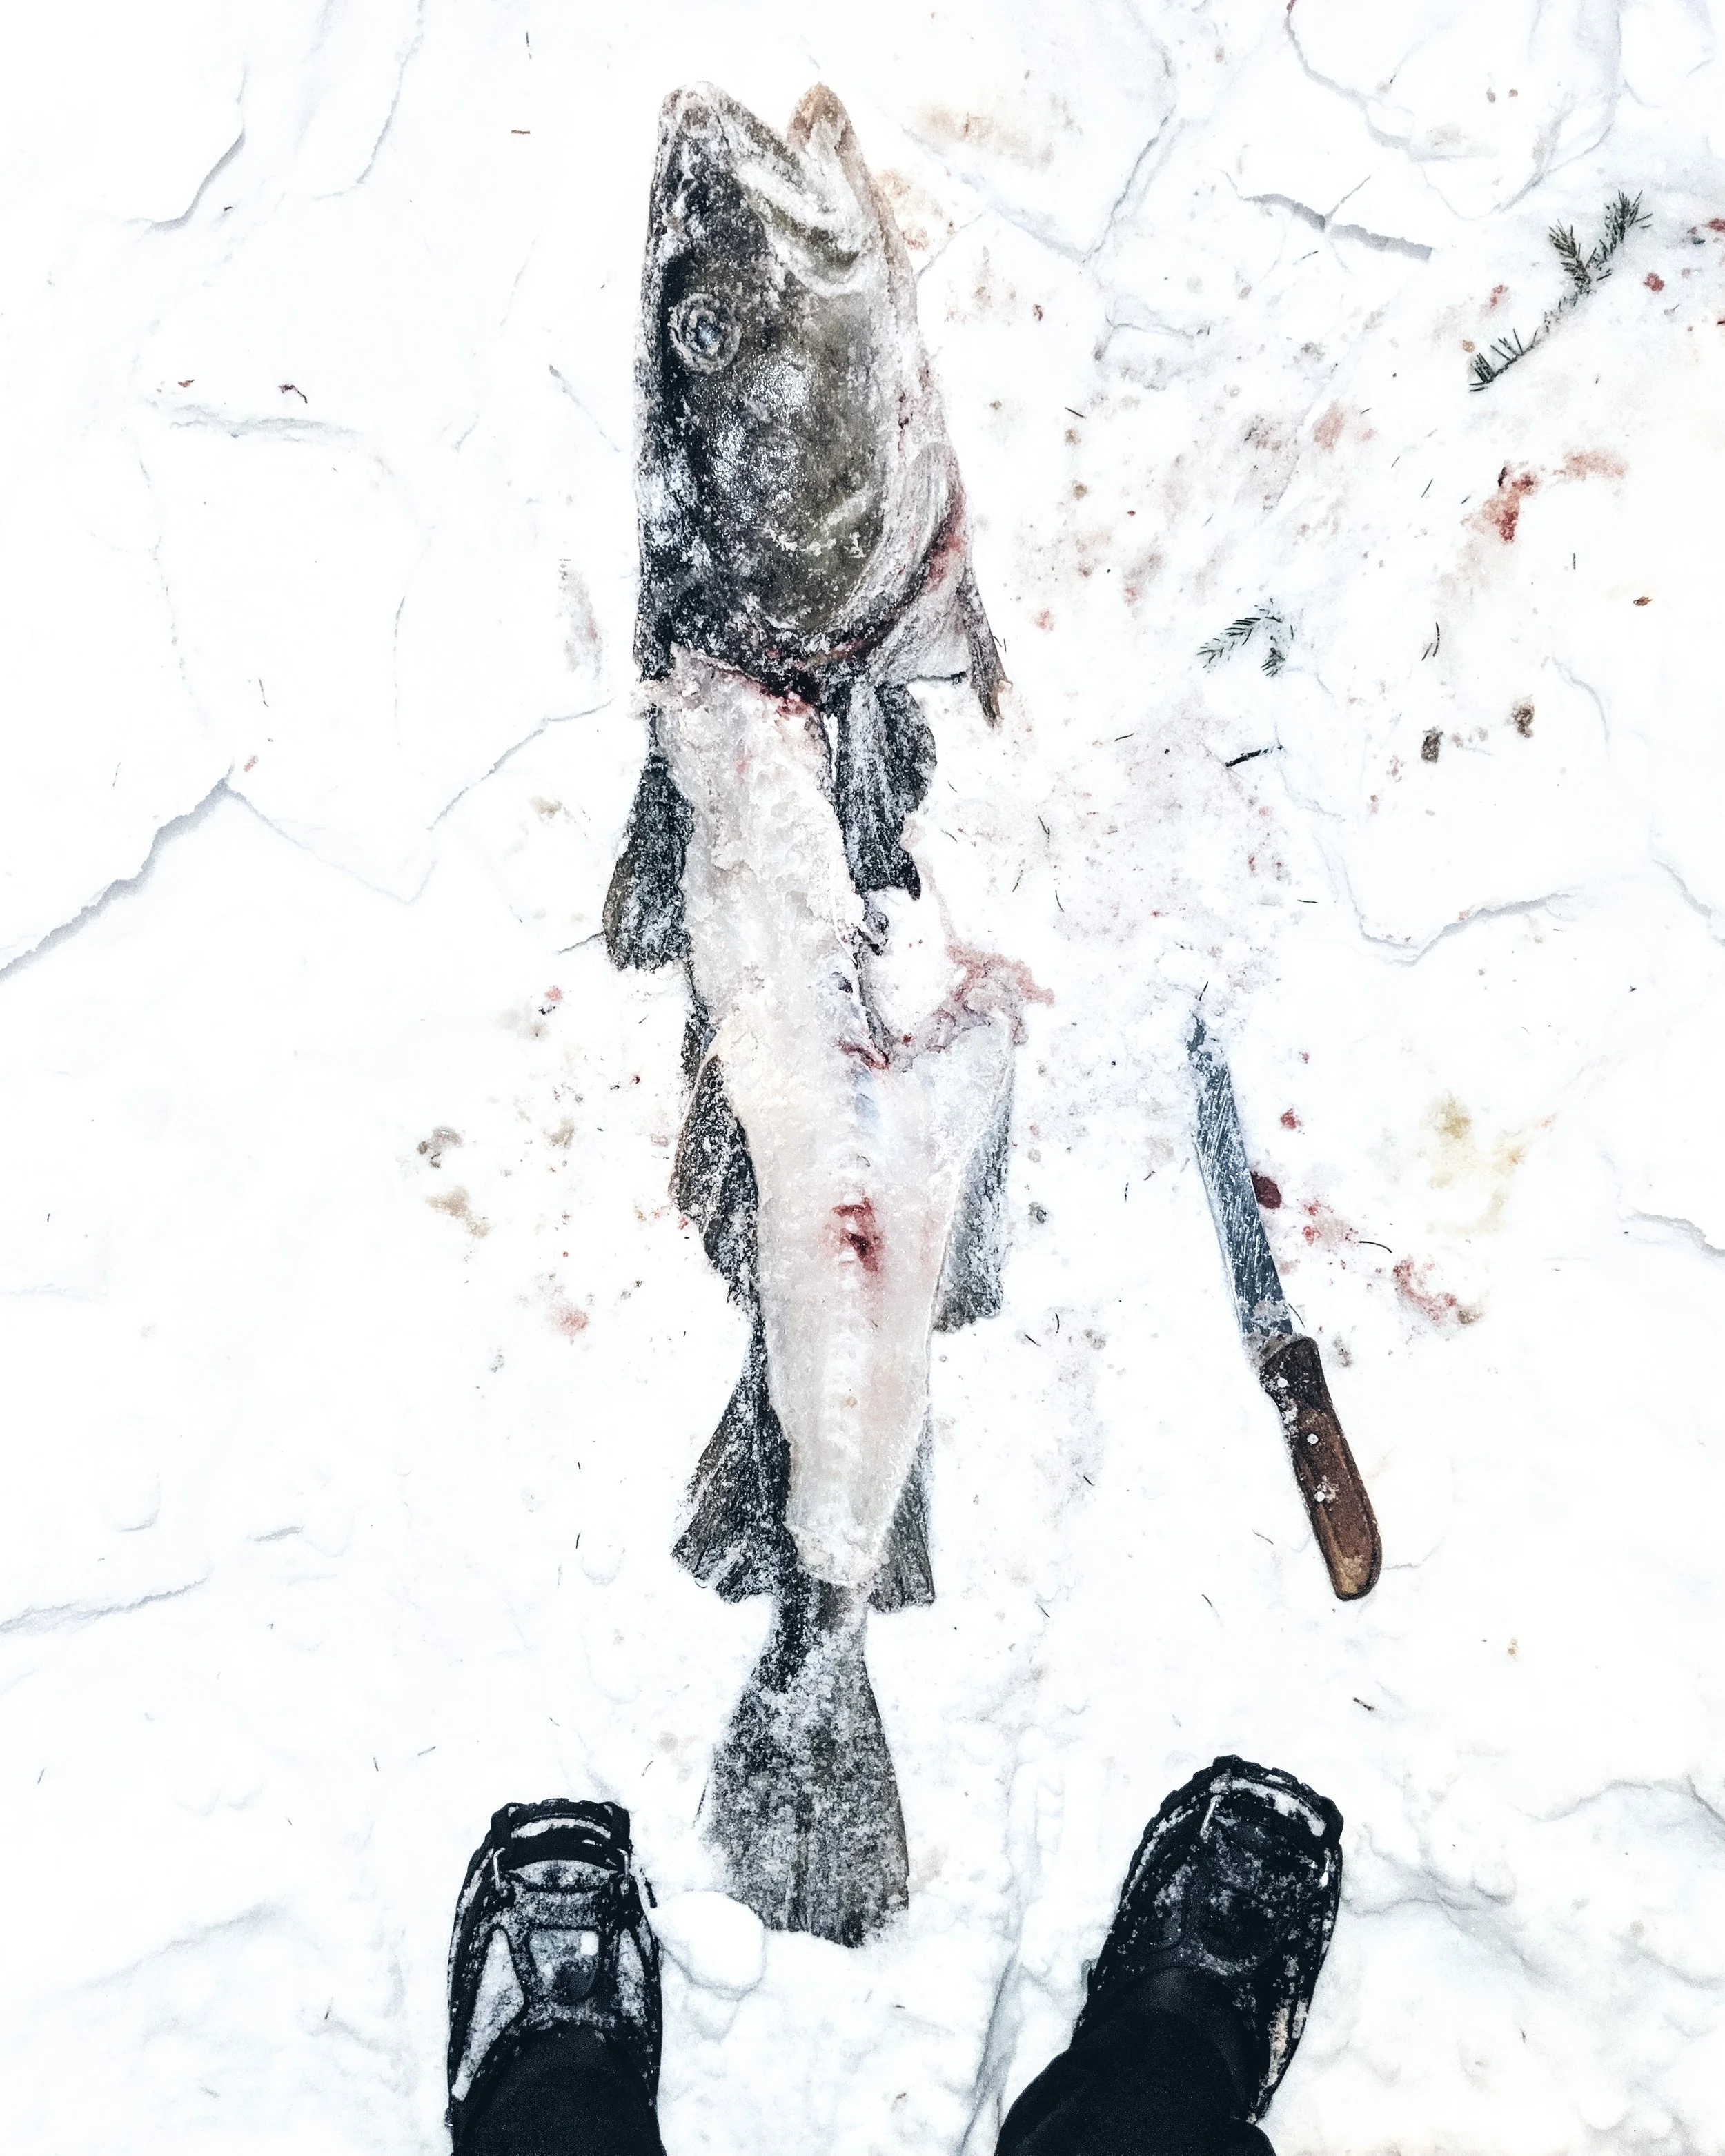
For example, I once spent two weeks living out of a small room in a shared AirBnB in Tromso, Norway. I spent a day on a fishing tour and went home with a whole Atlantic cod (2nd largest on the trip!), wrapped up in a bag. With a bunch of other guests using a common kitchen, I felt too self-conscious to use the inside space and ended up cleaning and filleting the fish outside, on the ground, in the snow (it was February) with a dull AirBnB knife. At least I didn’t have to worry about keeping it cold. The cod fed me for many days during my stay.
If you happen to be preparing whole seafood at home for the first time, you’ll want to think ahead and work in steps to make the best of your (likely) limited space. It’s a better experience when you clean up the work area between steps and for that you’ll probably want to have plenty of paper towels on hand. If you want to cut down on your paper towel trash, supplementing cleanup with cloth rags and kitchen towels can help, so long as you have in-unit laundry and can run a load immediately after using the towels. Between steps, wipe up any blood, and keep fish cool and dry at all times by blotting it with paper towels and storing it on ice.
My first step is to find my working surface - a large, flat area ideally at a comfortable height. Then I stage the area with the materials I need, starting with a cutting board. For small to medium size fish, a cutting board on the counter is perfect. Making sure the cutting board is unlikely to slip is important - laying a thin kitchen towel under the cutting board usually does the trick. For fish that are too big for a cutting board alone, I will instead cover my working surface with anything I might have on hand. For example, I might tape down a large trash bag cut into a flat plastic sheet, or lay out a strip of paper towels. Other materials I keep on my working surface or near at hand, include a roll of paper towels, my knife, and shears.
A note on your knife - when cutting fish, it is fine to use the tools at hand. You don't need to have a special filet knife or sushi knife. The job will be easiest, however, if whatever knife you are using is sharp.
If the fish isn’t gutted, you can do that first (small fish are easily done with shears) then clean up and start the rest of the processing. Smaller fish can be scaled inside a bag to contain the flying scales. For specifics of filleting, the internet is a great resource - you can also ask a fisherman or fishmonger what they recommend. As you break down the fish (filets, collars, scraps, bones for stock, or whatever else you wish to use - the bonus to having a whole fish!), put whatever pieces you aren’t working with back on ice or in the fridge. This is particularly relevant with big fish, which are broken down in sections. If there’s anything I need to dispose of, like gills, guts, scales, or used paper towels, I seal it in a bag before throwing it in my apartment building’s shared garbage bin.
As fresh as it gets - poke at sea.
Atlantic Cod in the snow.
Making the most of available space.
Some of the bigger fish available through San Diego commercial fishing, like California yellowtail, dorado, tunas, and white sea bass, are going to present a bigger challenge to prepare at home, but it can be done! After working directly on my covered flat surface to make my initial cuts, I transfer sections onto the cutting board to break them down further, into smaller pieces that can fit in my standard size fridge.
When I’ve brought home fish that are a little too big for even my kitchen counter, I’ve even managed by setting up makeshift flat surfaces outside in my driveway. I made use of the top of a larger cooler, the top of my car trunk, and an upside-down plastic box I keep in my trunk. It’s possible to make these things work. Yes, it can take a little more time and energy, but it can be done and I’ve always found it rewarding in the end.
Meet the Author
Janelle Louie
Fisher and Artist
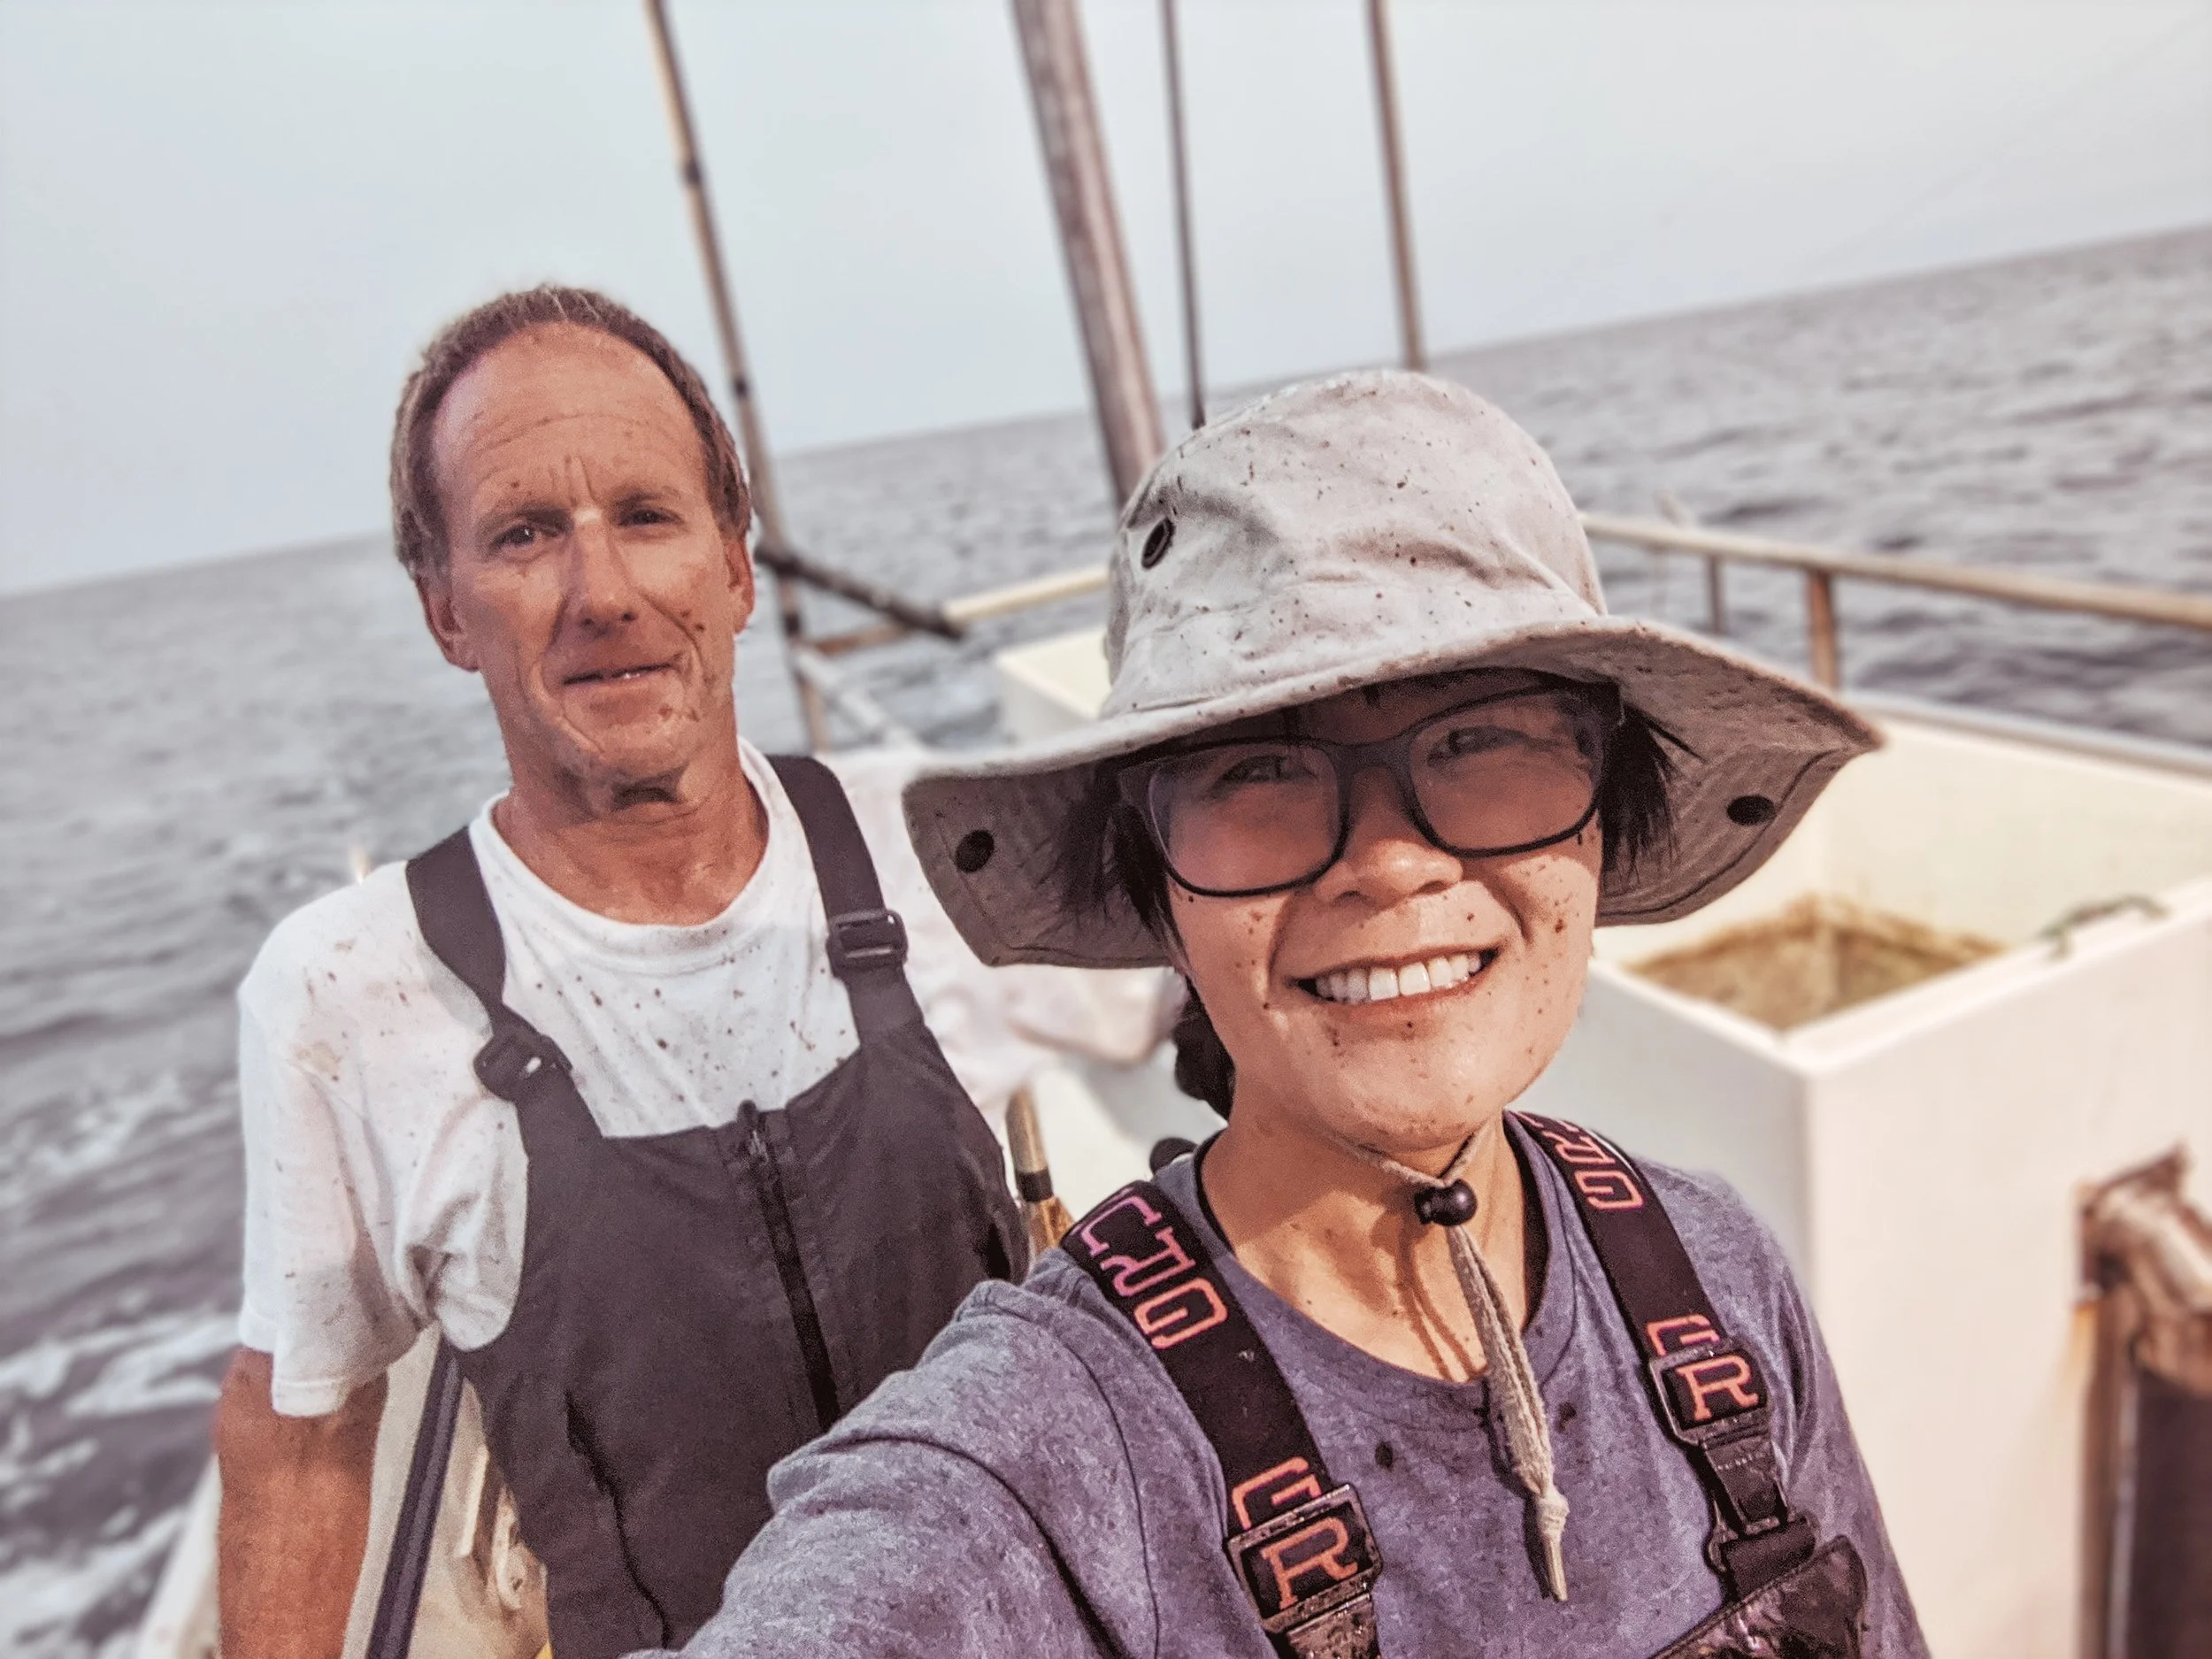
Janelle Louie is a fisher and artist from Southern California. Commercial fishing takes her up and down the West Coast on the F/V Olinka, where she has worked since 2020. She often makes use of fish parts that only come with the whole fish, like the head, collars, roe (eggs) and bones.
Janelle Louie and Captain Doug on the F/V Olinka.


